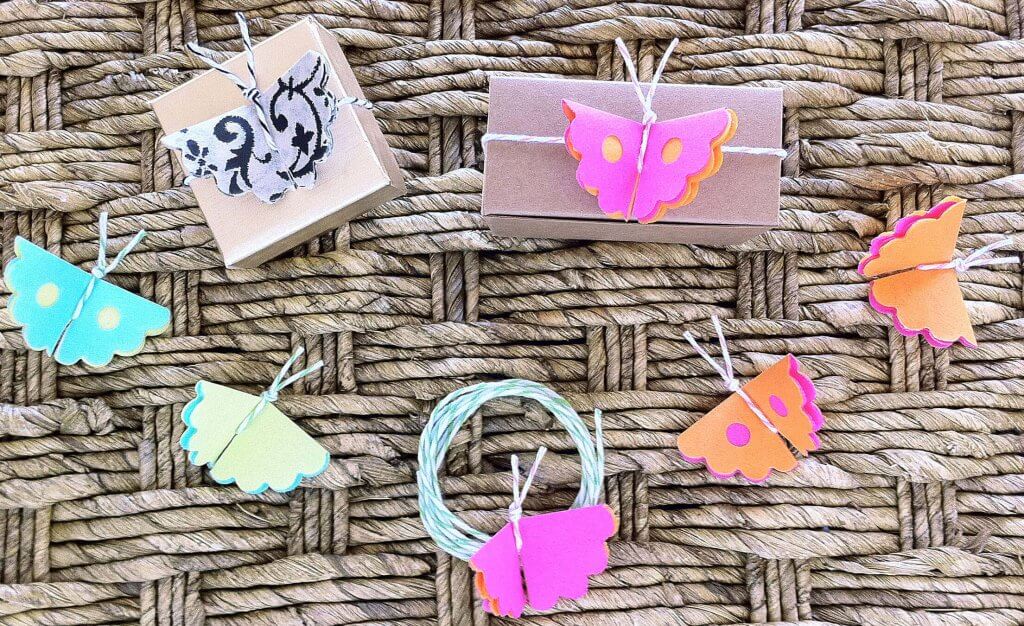
To start with, choose your favorite color or printed tissue (delicate prints like our Florentine tissue work best). We used a 2-inch paper punch with scalloped edges, but a plain 2-inch circle or even a square would be cute as well. One piece of tissue folded in half twice creates a stack of 4 sheets which is easy to punch out. You might experiment with 2 contrasting colors – just make sure you end up with a stack that is 4 sheets thick.
Punch out your tissue (step 1), then fold the circle in half (step 2). Fold in half again (step 3), then make a cut along the middle fold that goes about halfway. (If you are using contrasting colors and want to create cutouts in the wings, remove the outer 2 layers, fold back together, and punch a hole in the center. When you put all 4 layers back together, the inside color will show through.)
Next, cut a piece of twine long enough to wrap around your box (in this case, we just wrapped the box lid), and another piece of twine to pull through the center of the butterfly’s wings and create the antennae (step 4). Make sure to leave a little extra twine to make it easy to tie the knot to form the butterfly’s head. Place the butterfly on top of the box (step 5), then pull the twine that will wrap the box inside the the butterfly’s antennae (under the wings). Make the knot for the butterfly’s head by holding both ends together and tying a single knot.
Finally, tape the ends of the twine to the bottom of the box (or under the lid of the box) and trim the butterfly’s antennae (step 6). You can slide the butterfly to one side of the package if you’d like to add a gift tag or label. For more great ideas, check out our our blog Baker’s Twine & Favor Boxes, how-to videos and favor packaging products.
