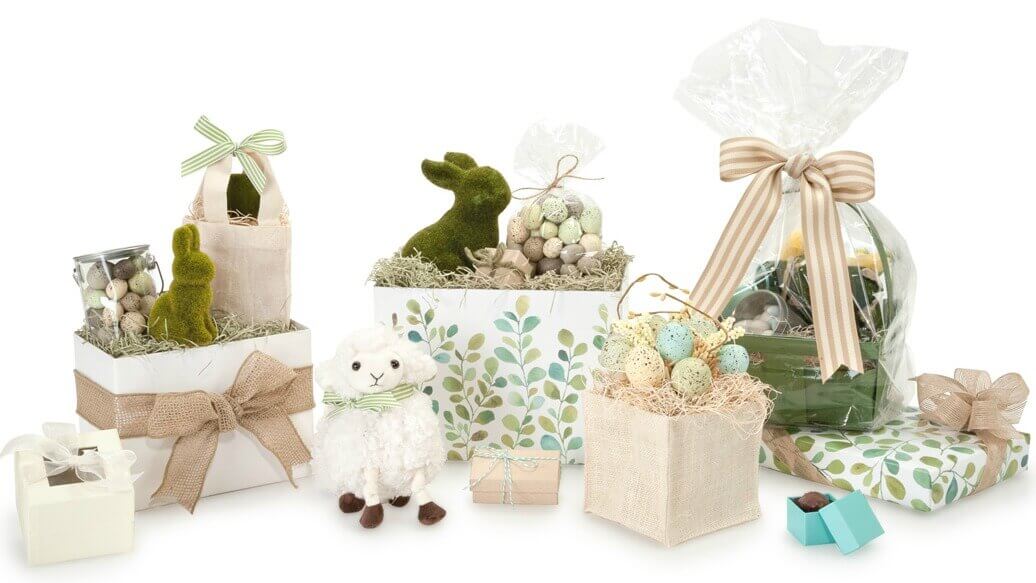
 It’s hard to believe it, but Easter is just around the corner, so let’s talk baskets! Obviously, Easter baskets are a popular tradition, but filling containers for gift giving can be used year round (eggs and bunnies are fun, but so are cookies, wines, coffee, soaps, and candles!). The question we hear the most is, “How do I build a basket?” So here are a few tips to build your best basket, any time of year.
1. Choose Your Focus
Are you looking to build an exceptional Easter basket? If so, then consider your recipient and the things that would make him or her smile. It’s almost always a good idea to pick one central item and build around that. You can’t go wrong with a stuffed bunny at Easter for young kids, but for older kids, you might choose a sports-themed basket, camera-and-scrapbook theme, or even a tech-gear theme.
If this is a gift basket without a particular recipient in mind, choose the focus of your basket contents – Spa Day, Baby Shower, Cookie Collection, Coffee Break, etc. – and build around those themes with items that complement your main focus. For instance, if you’re building a coffee-themed basket, you’ll want to include not only coffee samples but perhaps a versatile mug as well.
2. Pick a Color Scheme
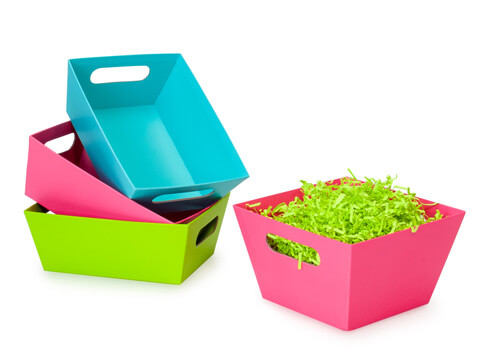
This is a step that a lot of people overlook, but if you’re building a basket for resale, it’s one of the best ways to create an eye-catching display! Pick a color from your focus and select complimentary items in that color. It’s perfectly fine to mix up colors a bit, but either stay in the same family or use complimentary colors. For example, pastel collections work well for Easter and monochromatic schemes work well for retail baskets. You can also add a contrasting pop of color as well.
3. Choose Your Vessel
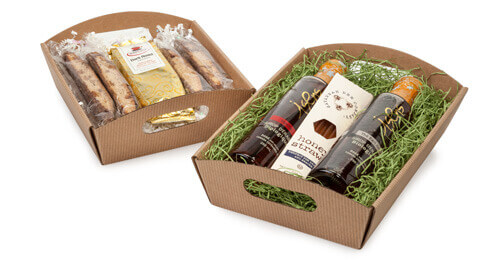
Gift baskets have come a long way from the traditional wicker type. We have several Easter themed and solid color Basket Boxes, as well as Market Trays, Gable Boxes, Cotton Gift Basket Containers, Burlap Basket Containers, Angle Basket Boxes and even Wood Crates. Mix it up and choose the style that best fits your budget and recipient.
4. Build Your Foundation
Many of the options offered at Nashville Wraps can also accommodate a bench to raise the ‘floor’ of your container. It’s always a good idea to use a bench or another stabilizer before you start building your basket. If a bench is not an option for your container, wadded up sheets of tissue paper work as well.
The next step in your foundation is shred (this is when it starts to get fun!). With many different styles of shred available, pick what suits you and your basket best. For Easter fun, you could use bright or pastel colored Crinkle Cut Shred in your Basket Box. For your organic bakery, maybe you’d use French Vanilla Veryfine Cut shred in your Chocolate Stripes Wide Base Market Tray. The combinations are endless and as unique as you!
5. Time to Assemble Your Basket!
Once you’ve raised and stabilized the floor of your basket, it’s time to start loading in your goodies. Start with your largest item (insert Easter Bunny here) and build your complimentary items around it. Try to maintain balance on each side of your basket and arrange items in varying heights (be sure not to let anything sink down too low).
If you have some small items that are loose, like candy or jewelry, we recommend using organza or cello bags to gather your small objects and display them beautifully. You could also use small Presentation boxes, Clear or Solid Tin Pails, Take Out Box containers, Window Boxes, Candy or Favor Boxes and Jewelry Boxes. Get creative and think outside the traditional “box”!
6. Wrap It Up!
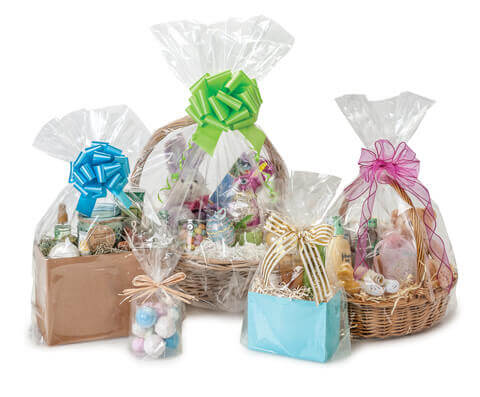
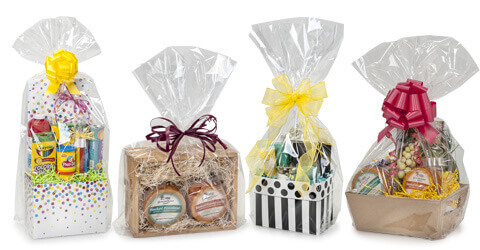
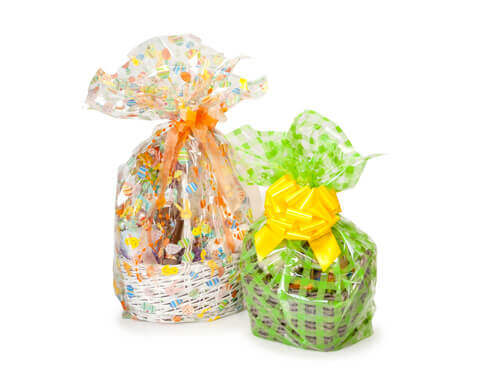
All that’s left now is to package up your charming creation. Depending on the size of your container, you’ll want to choose either a cello bag or use a roll of cello to wrap up your gift basket. Cello bags come in several sizes, and rolls of cello come in clear and fun printed designs. Gather your cello up around the top of your basket and secure it with a twist tie or twine. Then choose a ribbon, bow, tulle or raffia that complements the color scheme and tie a pretty bow around your gathered cello! (For tips on tying the perfect bow, check our YouTube channel for lots of ‘How to’ videos!)
All that’s left now is to share, but before you share your gift basket with the lucky recipient, share it with us! We love to see what you create.
Happy basket building!