When it comes to making gift baskets, Nashville Wraps has all the packaging supplies you need. We’ve also got the know-how to put it all together. Read on to learn how easy it is to create gorgeous Gift Baskets!
Step 1: Choose Your Gift Basket Container
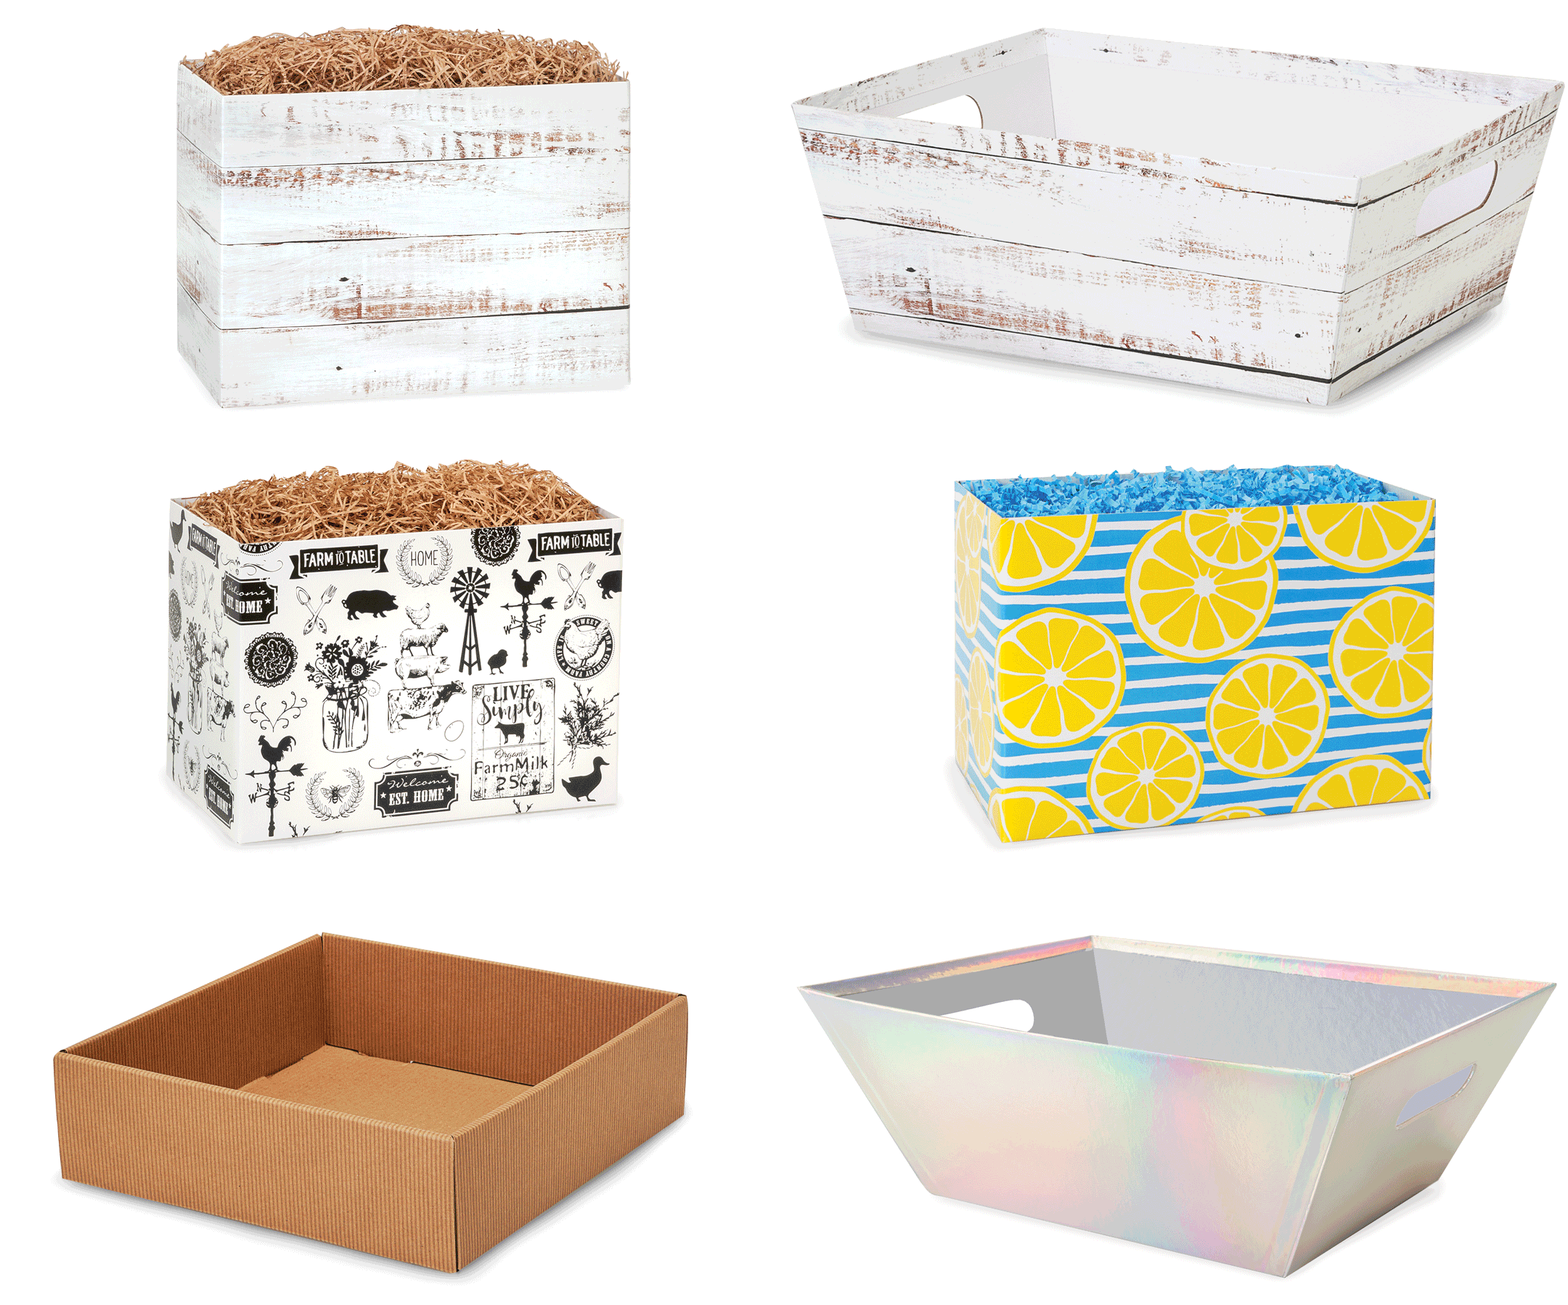
Shown above are just a few of our favorite Gift Basket Containers. Nashville Wraps carries literally hundreds of different containers to choose from for building your gift baskets. From colorful Basket Boxes to real Wooden Crates, there’s something for every occasion.

Step 2: Add Volume to Your Gift Basket
Next you want to raise the inside of your basket to display the contents to the best advantage. You can use crumpled up kraft paper in the bottom of your baskets, or one of our handy Basket Benches.
Step 3: Add Basket Shred
Once you have a surface to build on, add some colorful Basket Shred to cushion your products.
Step 4: Assemble the Products in Your Gift Basket
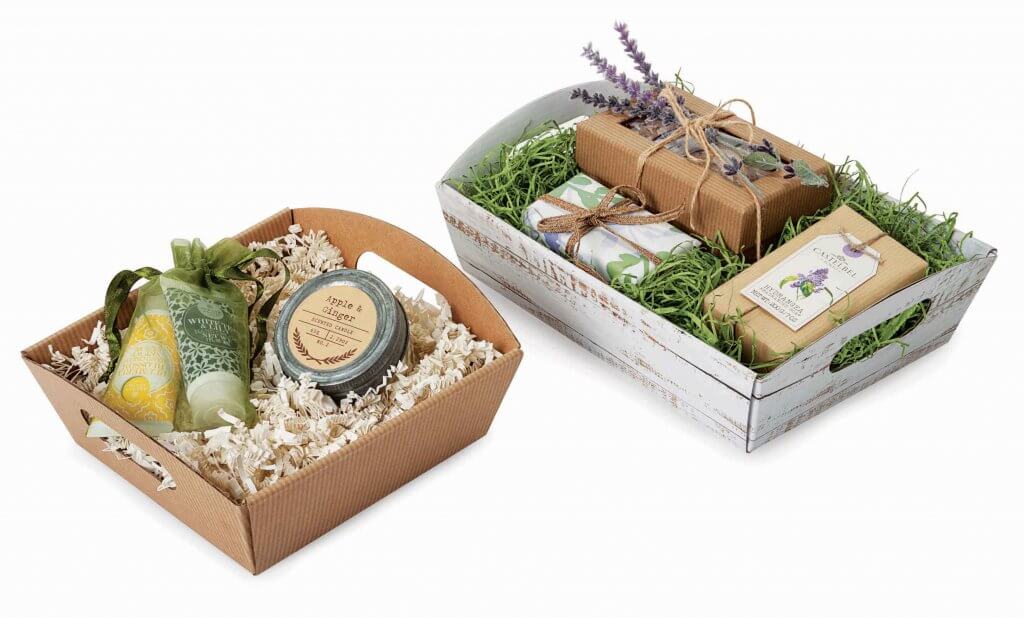
Now for the fun part: Start building your basket presentation, starting with taller items in the back. Tuck small treats and gifts into Favor Packaging like small boxes or organza bags.

Step 5: Secure Everything in Your Gift Basket
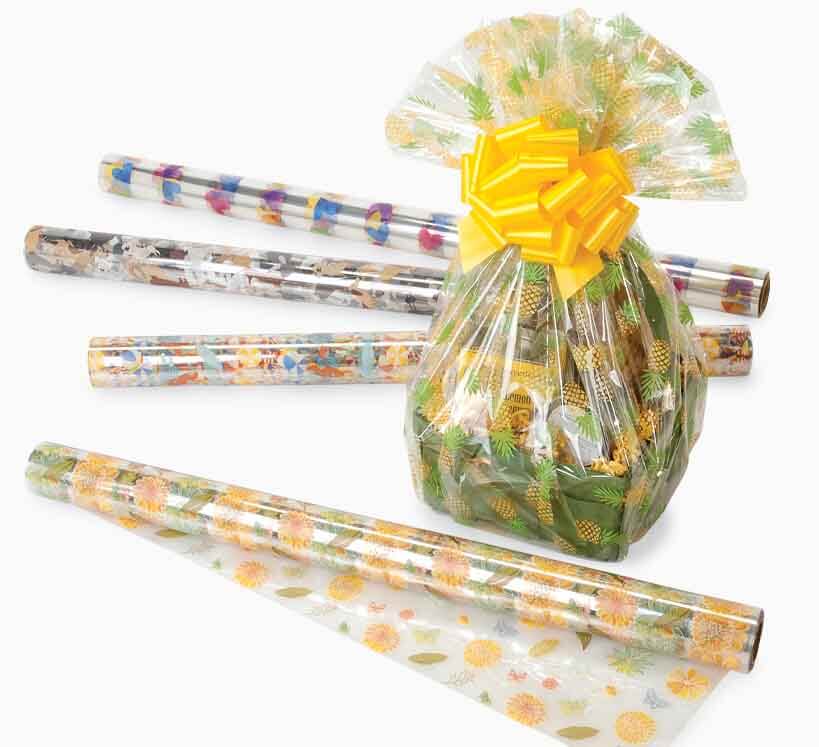
Once you’re happy with the arrangement of your products, add a little more shred for cushioning between items. If you need to, add some Glue Dots to keep items in place. Then wrap it all with a Cello Basket Bag, a Clear Cello Roll, or Shrink Wrap to protect your creation.
Step 6: Top Your Gift Basket with a Bow
This is my favorite step! Choose a showy Pull Bow (see how easy they are to use in the video below) or make your own amazing bow creation using some of our beautiful Tulle or Wired Ribbon. Shop all of our bow-making supplies here.
You’ll find plenty more how-to videos to show you how to tie bows and so much more here on our blog!
Leave a Reply